Vulnhub My File Server: 1 Walkthrough
- by Vince
-
in Blog
-
Hits: 2940
I grabbed a batch of files from Vulnhub but a few of them did not work with Virtualbox. Could be me or it could be the file. Alas, you can't expect much when you're not paying so I just moved on to the next until I found one that worked. My File Server did work but it does not have a description. I would call this box on the easy side but there are a lot of moving parts which can cause you to follow some different directions. I don't want to say to much so let's get at it...
We kick off with Nmap:
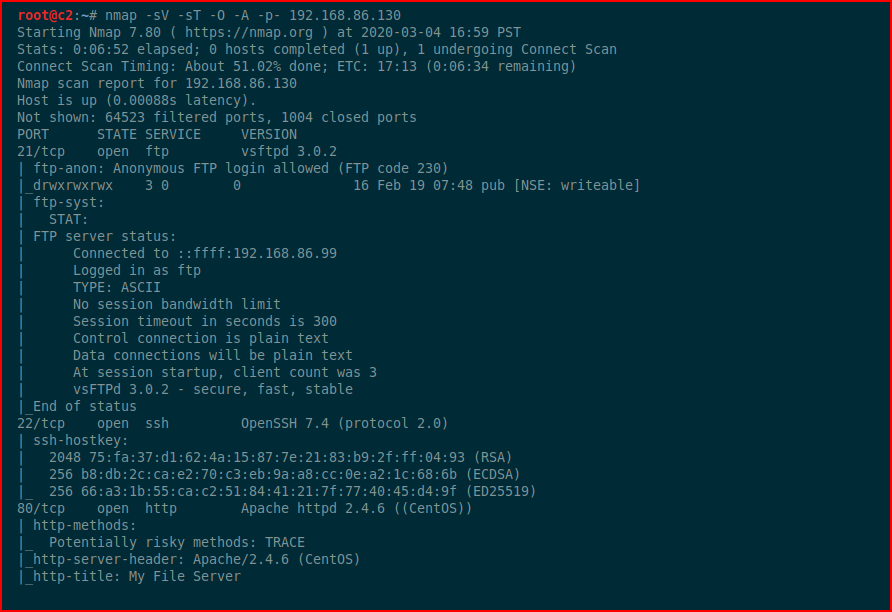
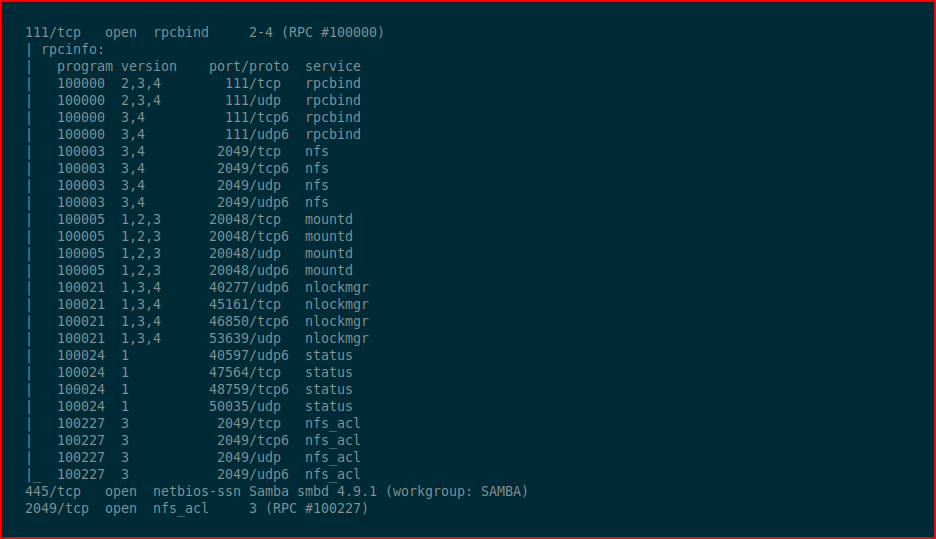
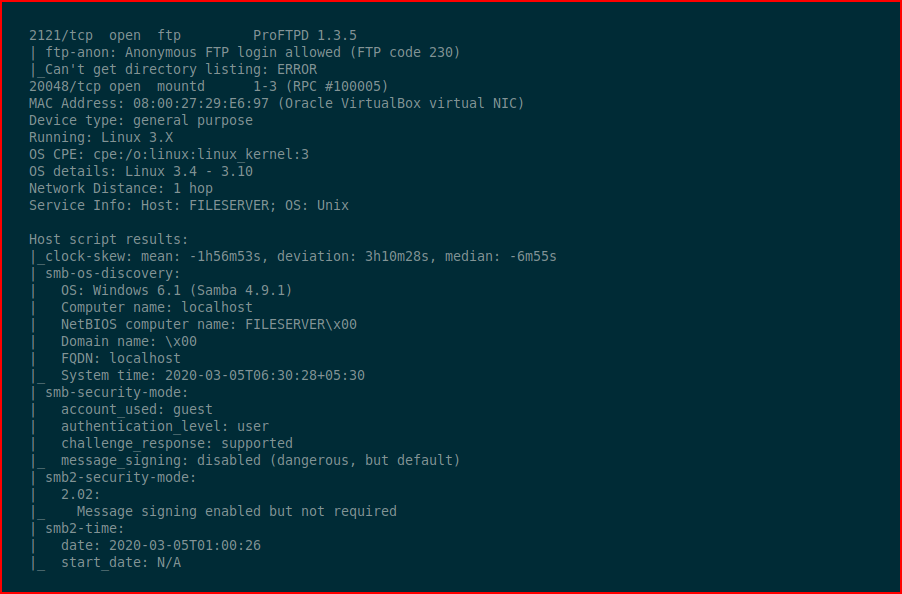
As I mentioned above, lots of moving parts.
Running Nikto, we find:
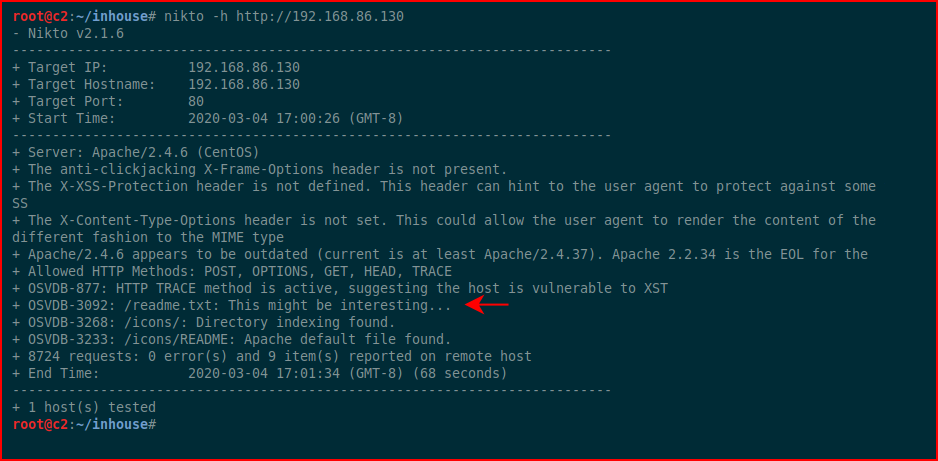
We browse to the web:
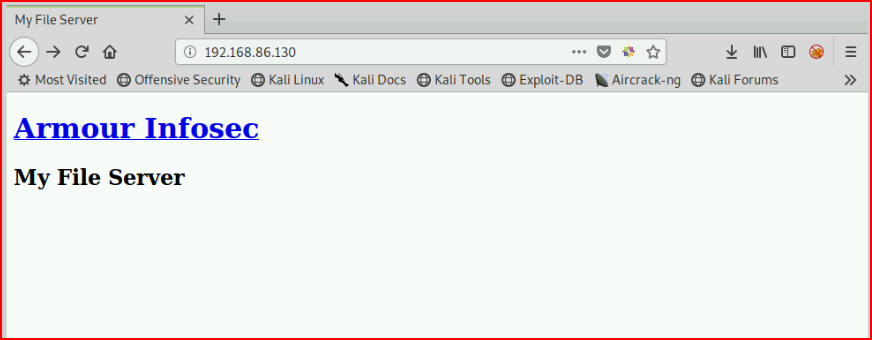
Nothing of real interest so we move to this readme.txt file:

Firing up rcpclient:

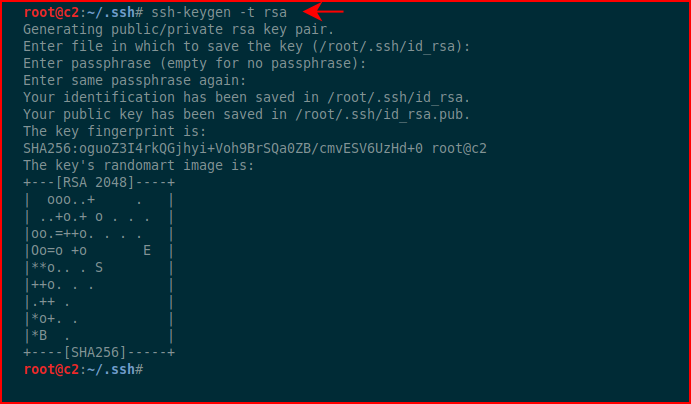
Excellent, now we have a username and a password. I think I know where this is going so I'm going to create SSH keys:
Using the uncovered credentials, I login as smbuser:
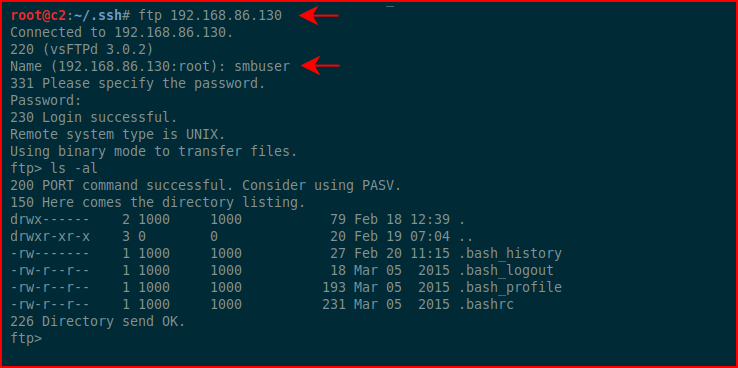
As I suspected, we land in the home directory for smbuser. We need to create the .ssh folder and upload our key into authorized_keys:

Now we should be able to ssh with the private key:

Excellent! Let's get some system info:

This is an older OS and I think it's susceptible to Dirty Cow:
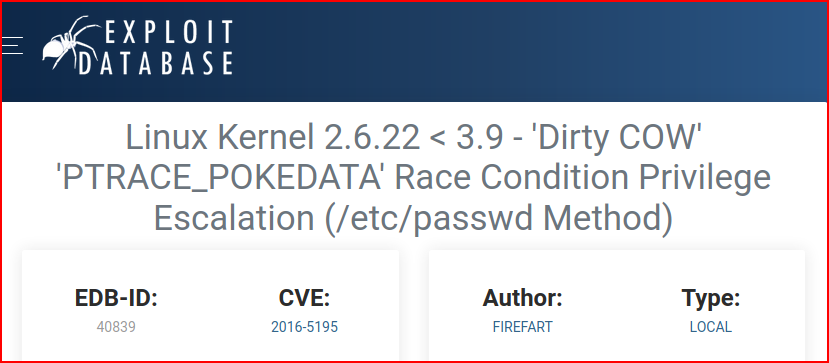
We move the exploit over, compile, and execute:

It helps to have two ssh connections going. While the first is still dealing with the exploit, the second can switch users to our newly created firefart account. Dirty Cow is unstable and the quicker we can switch users and echo the unstable fix, the better of we're going to be. Else, you might crash the box and have to start over.

After switching users and executing the unstable fix, there's only one more thing to do:
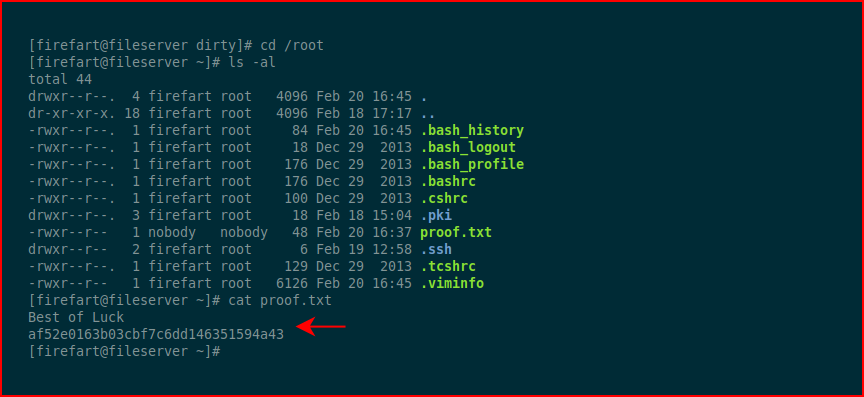
We grab the proof file and we're all set. #gameover
Fun box. Been awhile since I've seen Dirty Cow but aside from the quick root, the box makes you think due to all of the possible options.